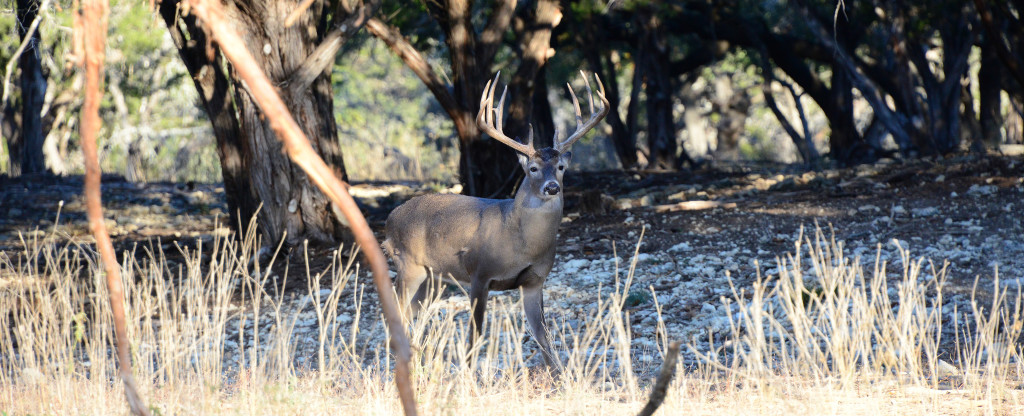
It might seem that skinning a deer would be a daunting task. The truth is that it isn’t difficult at all, though it can be time consuming. It should also be mentioned that there are various ways deer skinning can be done, from the golf ball method to having the deer hung up to skinning while the deer is laying on the ground. Below we will go through how to skin a deer step by step using the hanging method.

Knives
First, make sure that your knives are sharp. Dull knives tear while sharp ones cut. A dull knife is also more apt to cut you than the venison. I usually use only one or two knives when I’m skinning, one of them being my deer knife, since my deer knife is kept very sharp. Still, I have a sharpening stone and a sharpening steel handy when I’m doing the skinning, so I can pause from time to time to put a good edge on the knives, and keep them sharp through the process. Pausing might take extra time, but it is safer and results in a better job.
Remember:
[star_list]
- Use Sharp Knives
- Use a Sharpening Stone
- Pause – Don’t Rush
[/star_list]
The process
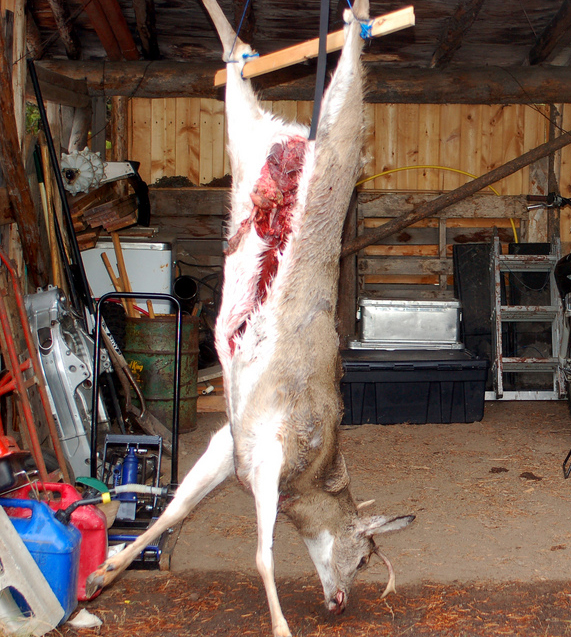
My preference is to have the deer hung head side up, so these steps are for that direction. If the deer is hung in the opposite direction, the sequence would be reversed. For more information on hanging a deer see “Hanging & Aging Venison”.
Step #1
At the time of skinning, the deer should be opened up and hanging. The top-most cut should be through part of the neck, to remove any remaining windpipe. It doesn’t matter if the head has been removed yet or not. Slide the blade just under the pelt at the neck and slice it all the way around, like you’d be creating a collar.
Step #2
Next, grasp the pelt at this point and pull it down. It is likely to go only a short distance before there is substantial resistance, because a deer’s hide is closely connected to the meat. When you feel that resistance, very carefully cut in a side to side motion, just below the skin and above the meat, peeling the hide back as you go. It goes a little faster if you have a helper to pull down the hide while you are working.
The goal is to remove the skin rather than to cut it or the meat (or the helper’s fingers). There is no rush to do this, so don’t hurry.
Step #3
Once you reach the front quarters, pause to slide the blade under the hide on the inner side of the arms, cutting the skin but not the meat, to the point at which the legs have been removed.
Peel the skin back from the front legs in the same way you’ve been taking off the skin from higher up. Strip the meat to the back on both sides. Proceed down to the rear quarters and follow the same process as was taken with the front quarters.
Step #4
If the deer was properly processed, the hide should already be cut all the way around the vent. If not, cut an oval from above the vent to the bottom of the tail so that the exterior sexual organs and anus are excluded when the hide is removed. The tail should have already been removed by this point and if not, it needs to be.
The hide can be rolled up, hair side in, for later processing into leather or it can be discarded, though throwing it away isn’t recommended. Deer hide makes very soft and pliable, but tough leather and the hair is fantastic for fishing fly tying enthusiasts. It is best not to waste any more of the deer as can be helped.
Final rinse
After the skin has been removed, no matter how careful you’ve been, there are apt to be loose hairs sticking to the meat. These need to be carefully rinsed off, wiped off and removed. The preferred way is under running water, such as from a garden hose, however in a pinch a cloth and bucket of water will usually suffice.
Removing the stray hairs is an important step in properly processing the deer and leaving them on the meat can lead to strong tasting meat.
Once it has been skinned, rinsed and dried, the carcass can be put in a deer bag or wrapped in a sheet for further aging. In fact, proper aging only occurs once the hide is removed so the air can get to the meat both inside and outside.
The good news is that taking your time to skin the deer properly can take around only a half hour or so, once you’ve done it a few times. Time isn’t very important, but you should know that you don’t have to spend a huge amount of time doing it. This is a step toward having the best tasting venison that is possible.
For more tutorials on how to skin a deer using the hanging method with visuals check out these great sources:
“How to skin a deer when your parents ask for help”
Deer Skinning Video courtesy of RealTree:
Fastest Deer Skinning: The Golf Ball Method
For those looking for a quicker way to skin their deer then this is for you. The fastest deer skinning method is by far the “Golf Ball Method”. Check it out in action:
Finally for the fastest deer skinning we have ever seen, check out this guy skin a whole deer in under 2 minutes…Incredible:
Image by Tony Box
Check Out These Articles: